")


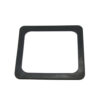
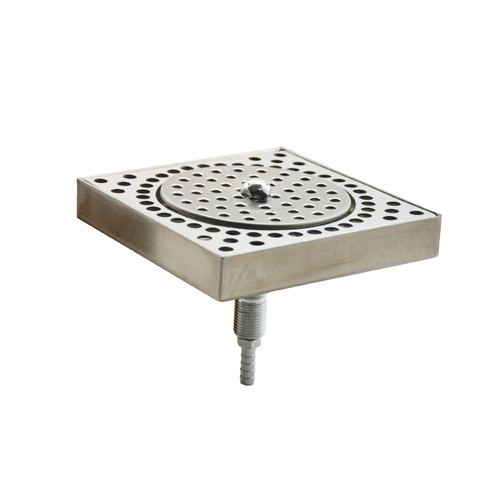
7.32″x6.85″x2.64″ Flush-Mount Frothing Pitcher Rinser/Glass Rinser (C335)
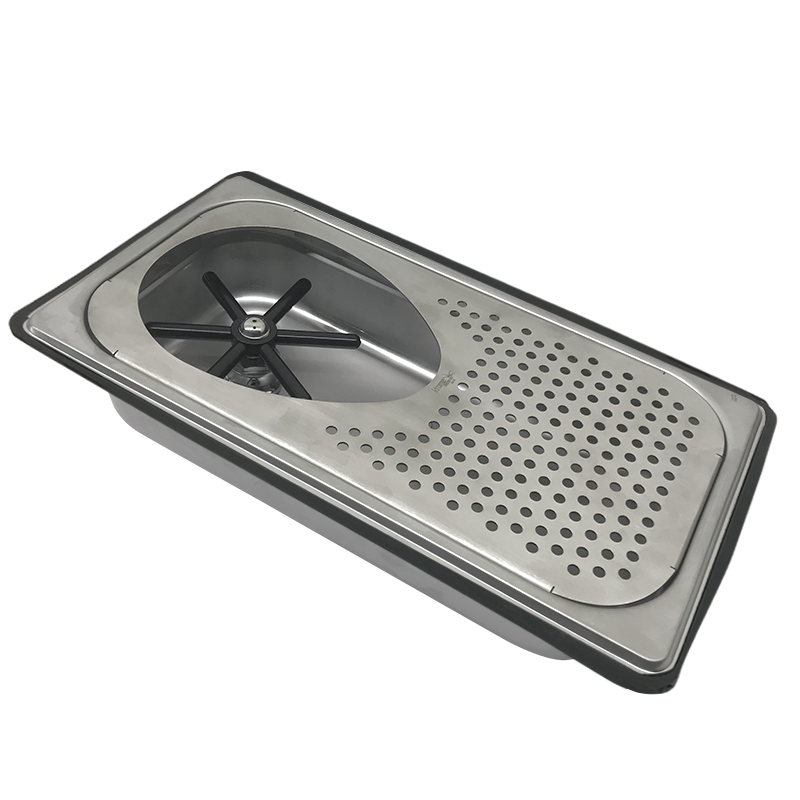
Flush mount pitcher rinser for new or refurbished counter. Cut out part of counter to the rinser dimensions and fit this in. Hides away all water and drain line pipe connections from view.
Clean milk deposits from previous use and bring down the temperature. Cooled down steaming pitcher keeps milk texture intact and foams better.
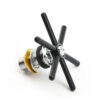
To operate, Simply invert the jar and press down the rinser disc with it. The powerful sprayer hits all nooks and corners. Rinses frothing pitchers in a jiffy.
All Krome rinsers are NSF certified.
Please Note: It is recommended that you use a Pressure Limiting Valve (PLV) when connecting to a mains water line.
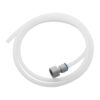
Includes: C029 – 1/2″ BSP Connector With 3/8″OD X 5 Feet Hose
- Rinse milk steaming jar after every use. Get better foam with a cool jar.
- Counter-top model. Simply make water and drain connections and place on the counter.
- Flush-mount. Needs countertop to be cut to its dimensions. Conceals all pipes.
- Stainless steel rinser disk with high-pressure jet sprayer
- For best results, use cool water.
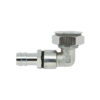
- Water Inlet 3/8″ John Guest (Push in fitting)
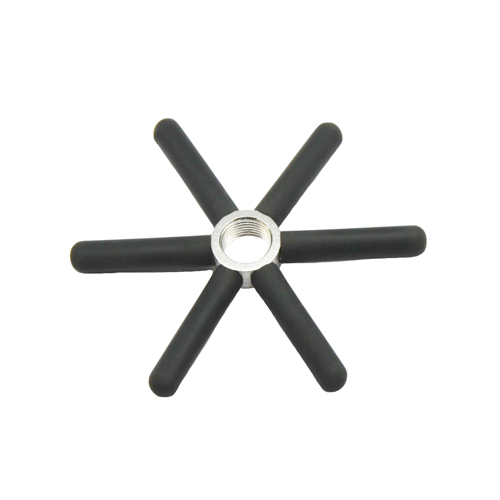
- Replacement parts are also available.
- No electricity required
- Flow rate: 1.9 GPM @60PSI
Specifications
| Material | Stainless Steel 304 |
| Finish | Brushed Stainless |
| Length | 7.32” |
| Width | 6.85" |
| Height | 2.64" |
| Suitable for | Any espresso |
| Shape | Square |
| Standard Packing | 10 |
| Approvals | NSF Certified (Rinser Only) |
- Dimensions & Measurements (PDF)
- Due to slight variations in manufacturing design and the varying requirements of bench materials, it is strongly recommended to have the physical Pitcher Rinser on hand prior to cutting into bench top surfaces. We take no responsibility for installation cut out errors and provides the sizes and dimensions as a layout guide only.
- Cut Sheet (PDF)
Warnings / Instructions
- Important information – Prop. 65 for CA residents.
- Proposition 65 Warning: This product contains chemicals known to the State of California to cause cancer and/or birth defects or other reproductive harm.